Tutorial: Starbucks NBA Pipeline
This hands-on tutorial walks you through the entire KaireonAI platform using a real Starbucks customer offers dataset from Kaggle. You’ll set up a complete NBA pipeline — from loading data to watching models learn from customer responses. What you’ll learn:- How offers, channels, and creatives work together
- How qualification rules and contact policies filter decisions
- How to run the Recommend API and interpret results
- How to record outcomes and see models improve
- How to read the dashboards and debug eligibility
Step 1: Load the Dataset
Navigate to Settings → Sample Data and click Load on the Starbucks Offers dataset.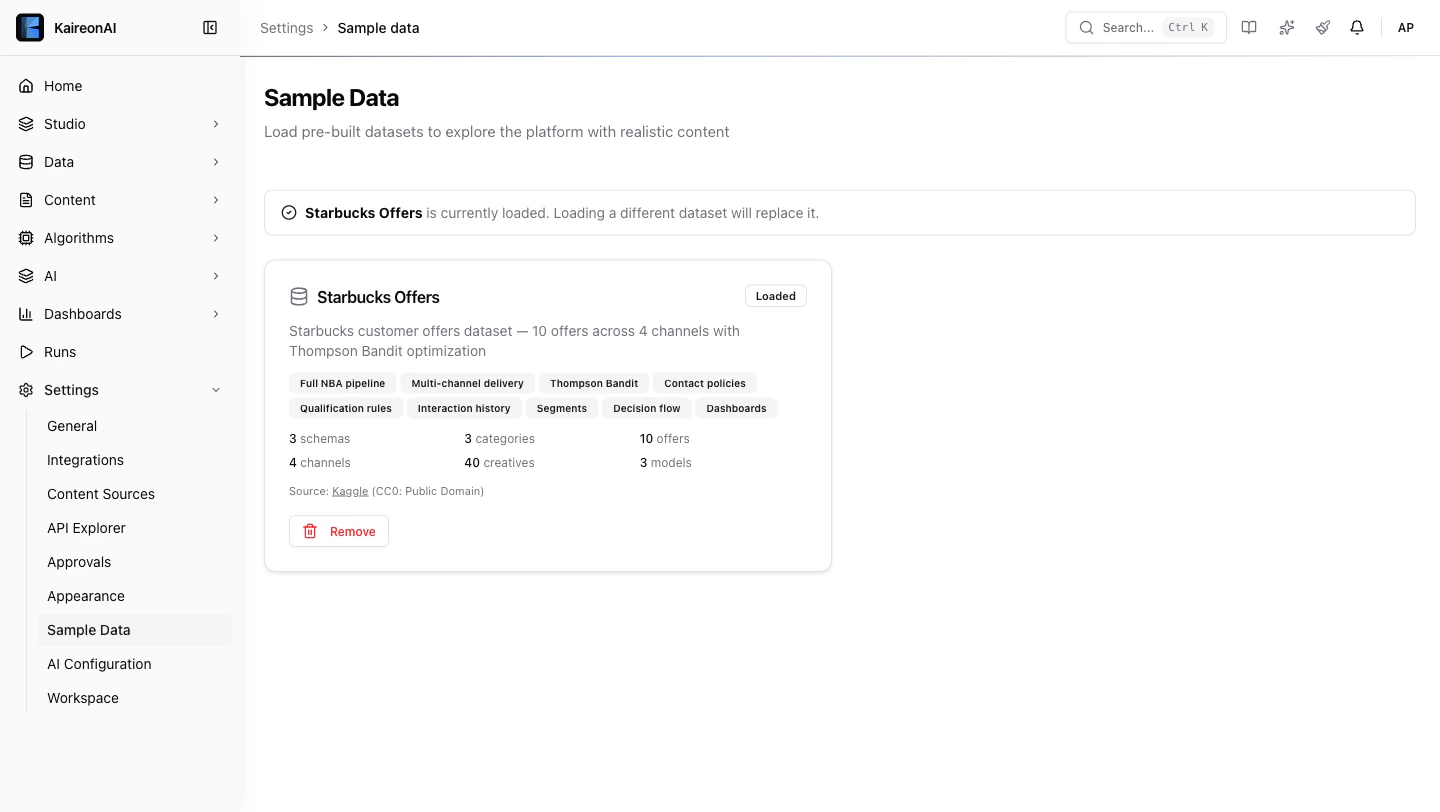
| Entity | Count | What it is |
|---|---|---|
| Customers | 100 | Starbucks loyalty members with age, gender, income, membership tenure |
| Offers | 10 | 4 BOGO, 4 Discount, 2 Informational — each with different difficulty and reward |
| Creatives | 60 | Each offer × 6 channels = one creative per channel |
| Channels | 6 | Web, Email, Mobile Push, Social, Batch Email, Manual Outreach |
| Models | 3 | Scorecard, Bayesian, Thompson Bandit |
| Qualification Rules | 5 | Age gate, income gate, loyalty gate, plus offer-specific restrictions |
| Contact Policies | 5 | Daily cap, cooldown, post-conversion pause, weekly cap, mutual exclusion |
| Decision Flow | 1 | Full pipeline: inventory → qualify → contact policy → score → rank → response |
| Interactions | 500 | Pre-loaded interaction history so dashboards have data immediately |
Step 2: Explore the Offers
Go to Studio → Offers. You’ll see 10 offers organized into 3 categories: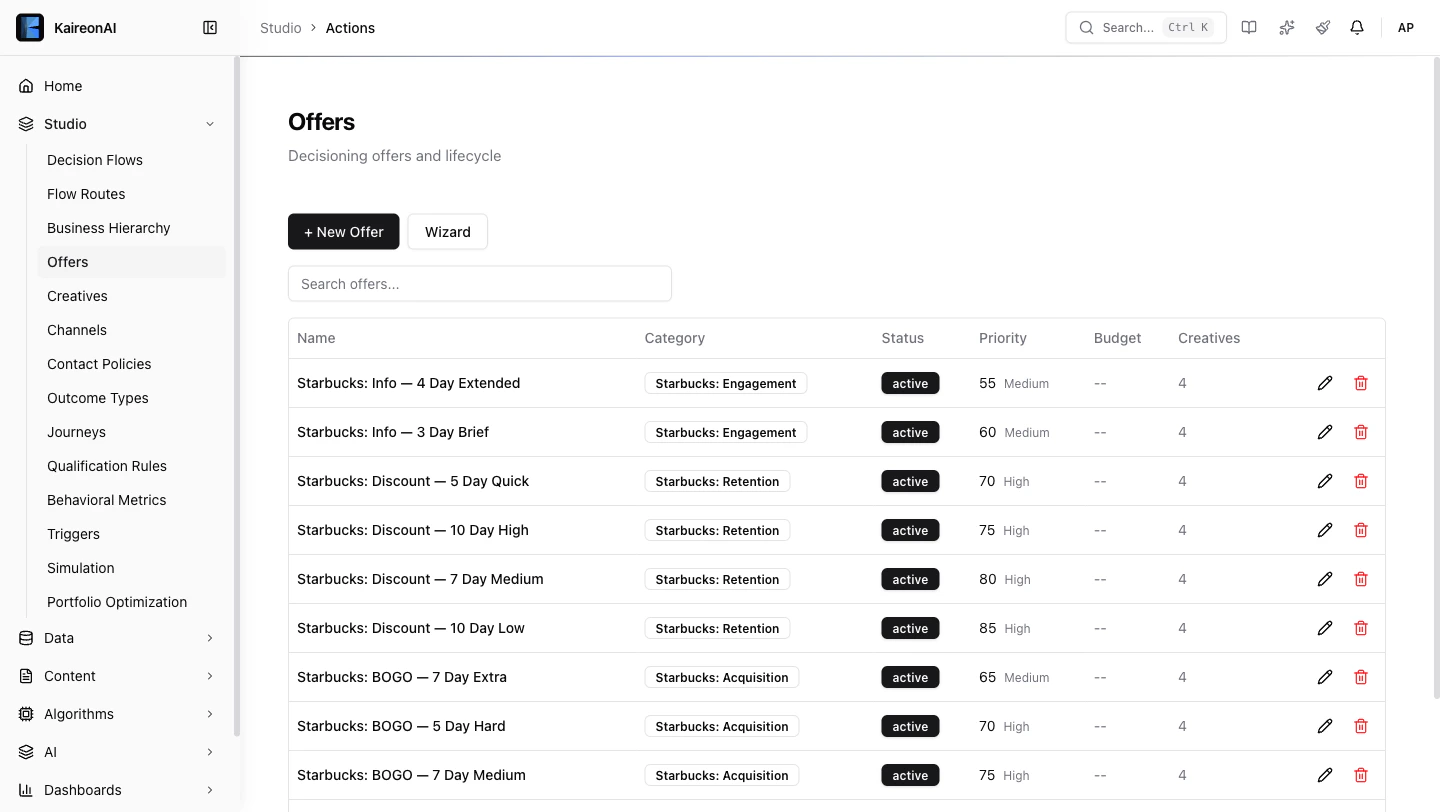
Acquisition (BOGO Offers)
| Offer | Min Spend | Priority | Target |
|---|---|---|---|
| BOGO — 5 Day Easy | $5 | 80 | New customers, low barrier |
| BOGO — 7 Day Medium | $10 | 75 | Regular visitors |
| BOGO — 5 Day Hard | $20 | 70 | High-value customers (income ≥ $70K) |
| BOGO — 7 Day Extra | None | 65 | Lapsed customer re-engagement |
Retention (Discount Offers)
| Offer | Min Spend | Priority | Target |
|---|---|---|---|
| Discount — 10 Day Low | $7 | 85 | Price-sensitive, high volume |
| Discount — 7 Day Medium | $10 | 80 | Mid-tier retention |
| Discount — 10 Day High | $20 | 75 | Loyal customers aged 35+ |
| Discount — 5 Day Quick | $5 | 70 | Urgency / immediate visits |
Engagement (Informational)
| Offer | Priority | Purpose |
|---|---|---|
| Info — 3 Day Brief | 60 | Seasonal product awareness |
| Info — 4 Day Extended | 55 | Product launch campaigns |
Step 3: Understand the Rules
Qualification Rules (who can receive offers)
Go to Studio → Qualification Rules to see all 5 rules:| Rule | What it checks | Effect |
|---|---|---|
| Min Age 18 | age ≥ 18 | Legal requirement — blocks minors |
| Min Income $30k | income ≥ $30,000 | Ensures spending power |
| Loyalty Members Only | membership_days ≥ 30 | Only established members |
| Premium BOGO Gate | income ≥ $70k on BOGO Hard only | Targets high-value for premium offers |
| Senior Discount Gate | age ≥ 35 on Discount High only | Mature customers with habits |
Contact Policies (how often / when)
Go to Studio → Contact Policies:| Policy | What it does |
|---|---|
| Max 3 per Day | No more than 3 offers per customer per day |
| 24hr Same-Offer Cooldown | Don’t repeat the same offer within 24 hours |
| 48hr Post-Conversion Cooldown | After conversion, pause 48 hours |
| Max 10 per Week | Weekly global cap across all channels |
| BOGO vs Discount Exclusion | Don’t show both types in same session |
Step 4: Look Up a Customer
Go to Data → Customer Viewer and search for SBX-000042.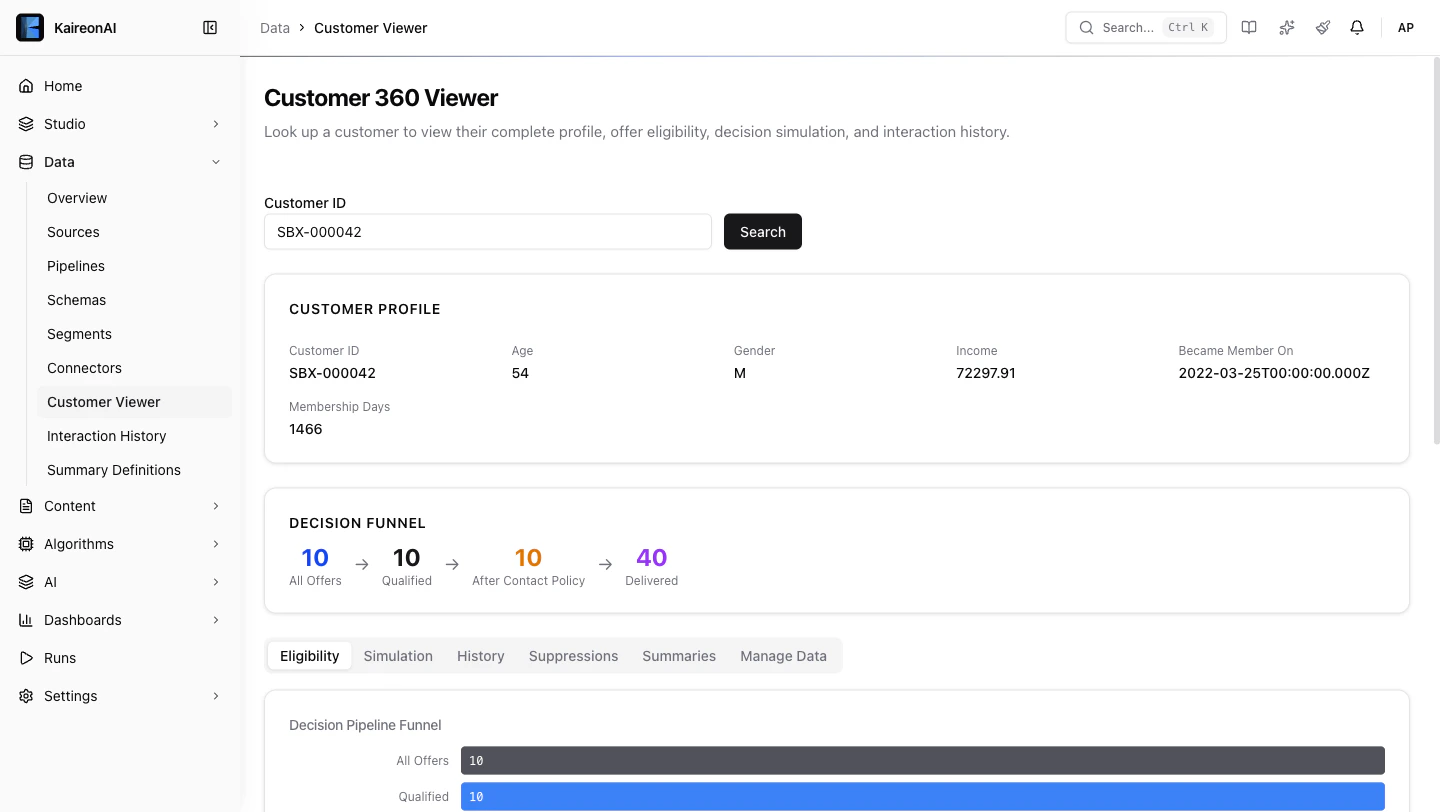
- Profile card with demographics (age, income, gender, membership days)
- Eligibility tab showing which of the 10 offers this customer qualifies for
- Pipeline funnel showing how many candidates survive each stage
- Rule detail — expand any offer to see exactly which rules passed/failed
| Customer | Age | Income | What happens |
|---|---|---|---|
| SBX-000042 | Varies | Varies | See the full eligibility breakdown |
| SBX-000000 | 52 | $98K | Qualifies for everything — high-value VIP |
| SBX-000010 | 18 | $67K | Just barely passes age gate |
| SBX-000500 | 33 | $77K | Blocked from Discount High (age < 35) |
Step 5: Run a Recommendation
From the API Explorer
Go to Settings → API Explorer and try:- decisions — the top 5 offers ranked by score
- meta — pipeline trace (totalCandidates → afterQualification → afterContactPolicy → count)
- recommendationId — save this for the next step
From curl
Step 6: Record an Outcome
When a customer responds to a recommendation, record it:Idempotency-Key header to prevent double-counting.
Try recording different outcomes:
"click"— customer clicked the offer"accept"— customer accepted/redeemed"dismiss"— customer dismissed it"convert"— customer completed a purchase
Step 7: Check the Dashboards
Business Dashboard
Go to Dashboards → Business. You’ll see: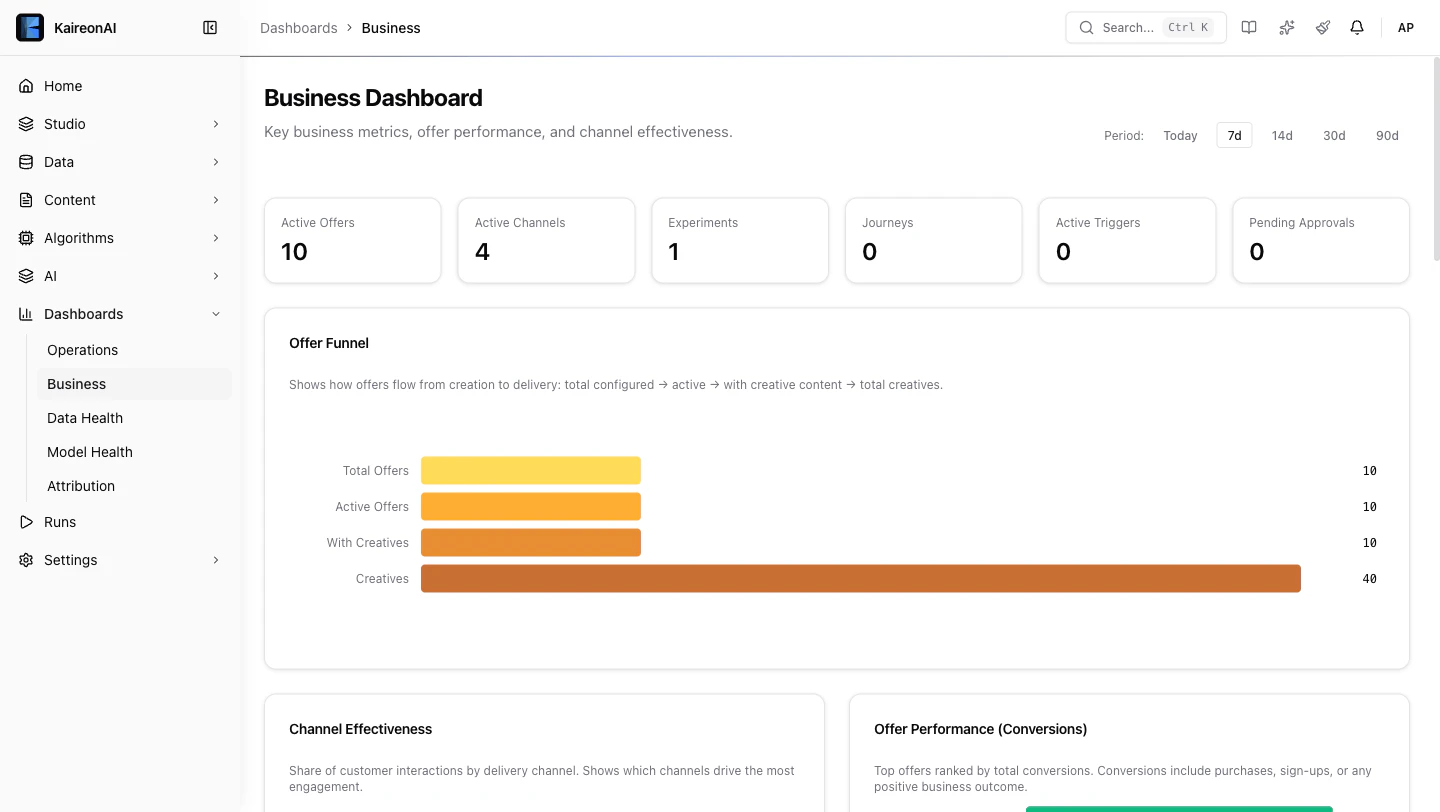
- Channel Effectiveness donut chart — which channels drive the most engagement
- Offer Performance bars — which offers get the most conversions
- Daily Trend line chart — impression and conversion volume over time
Operations Dashboard
Go to Dashboards → Operations:- Acceptance Rate by Offer — see which offers customers actually respond to
- Total Decisions — how many recommendations have been made
Model Health
Go to Dashboards → Model Health:- Select different models from the dropdown to see AUC trends
- Score Distribution — see how propensity scores are distributed
- Use the View buttons (All / By Channel / By Offer / By Category) to break down scores
Step 8: Explore the Decision Flow
Go to Studio → Decision Flows and click on Full Decision Pipeline.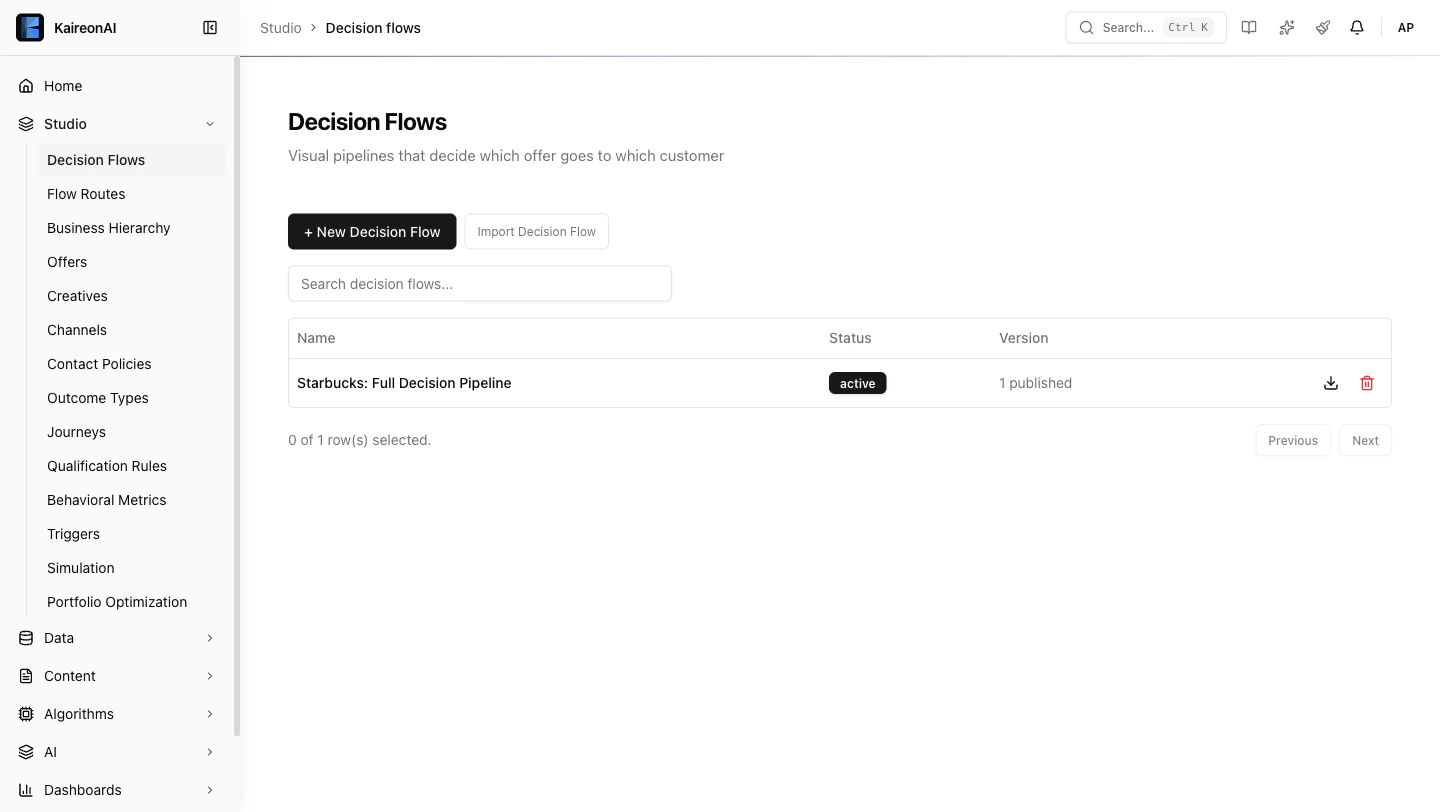
- Inventory — loads all active offers and their creatives (40 candidates)
- Qualification — applies 5 rules, drops ineligible candidates
- Contact Policy — applies 5 suppression policies
- Score — runs the selected ML model (Scorecard, Bayesian, or Thompson Bandit)
- Rank — selects the top N candidates by score
- Response — formats the final recommendation
What’s Next?
Now that you’ve explored the Starbucks pipeline, try:- Creating your own offer — Studio → Offers → + New Offer
- Adding a qualification rule — target a specific customer segment
- Setting up an experiment — Algorithms → Experiments to A/B test models
- Building a journey — Studio → Journeys for multi-step customer flows
- Connecting your own data — Data → Connectors to bring in real customer data